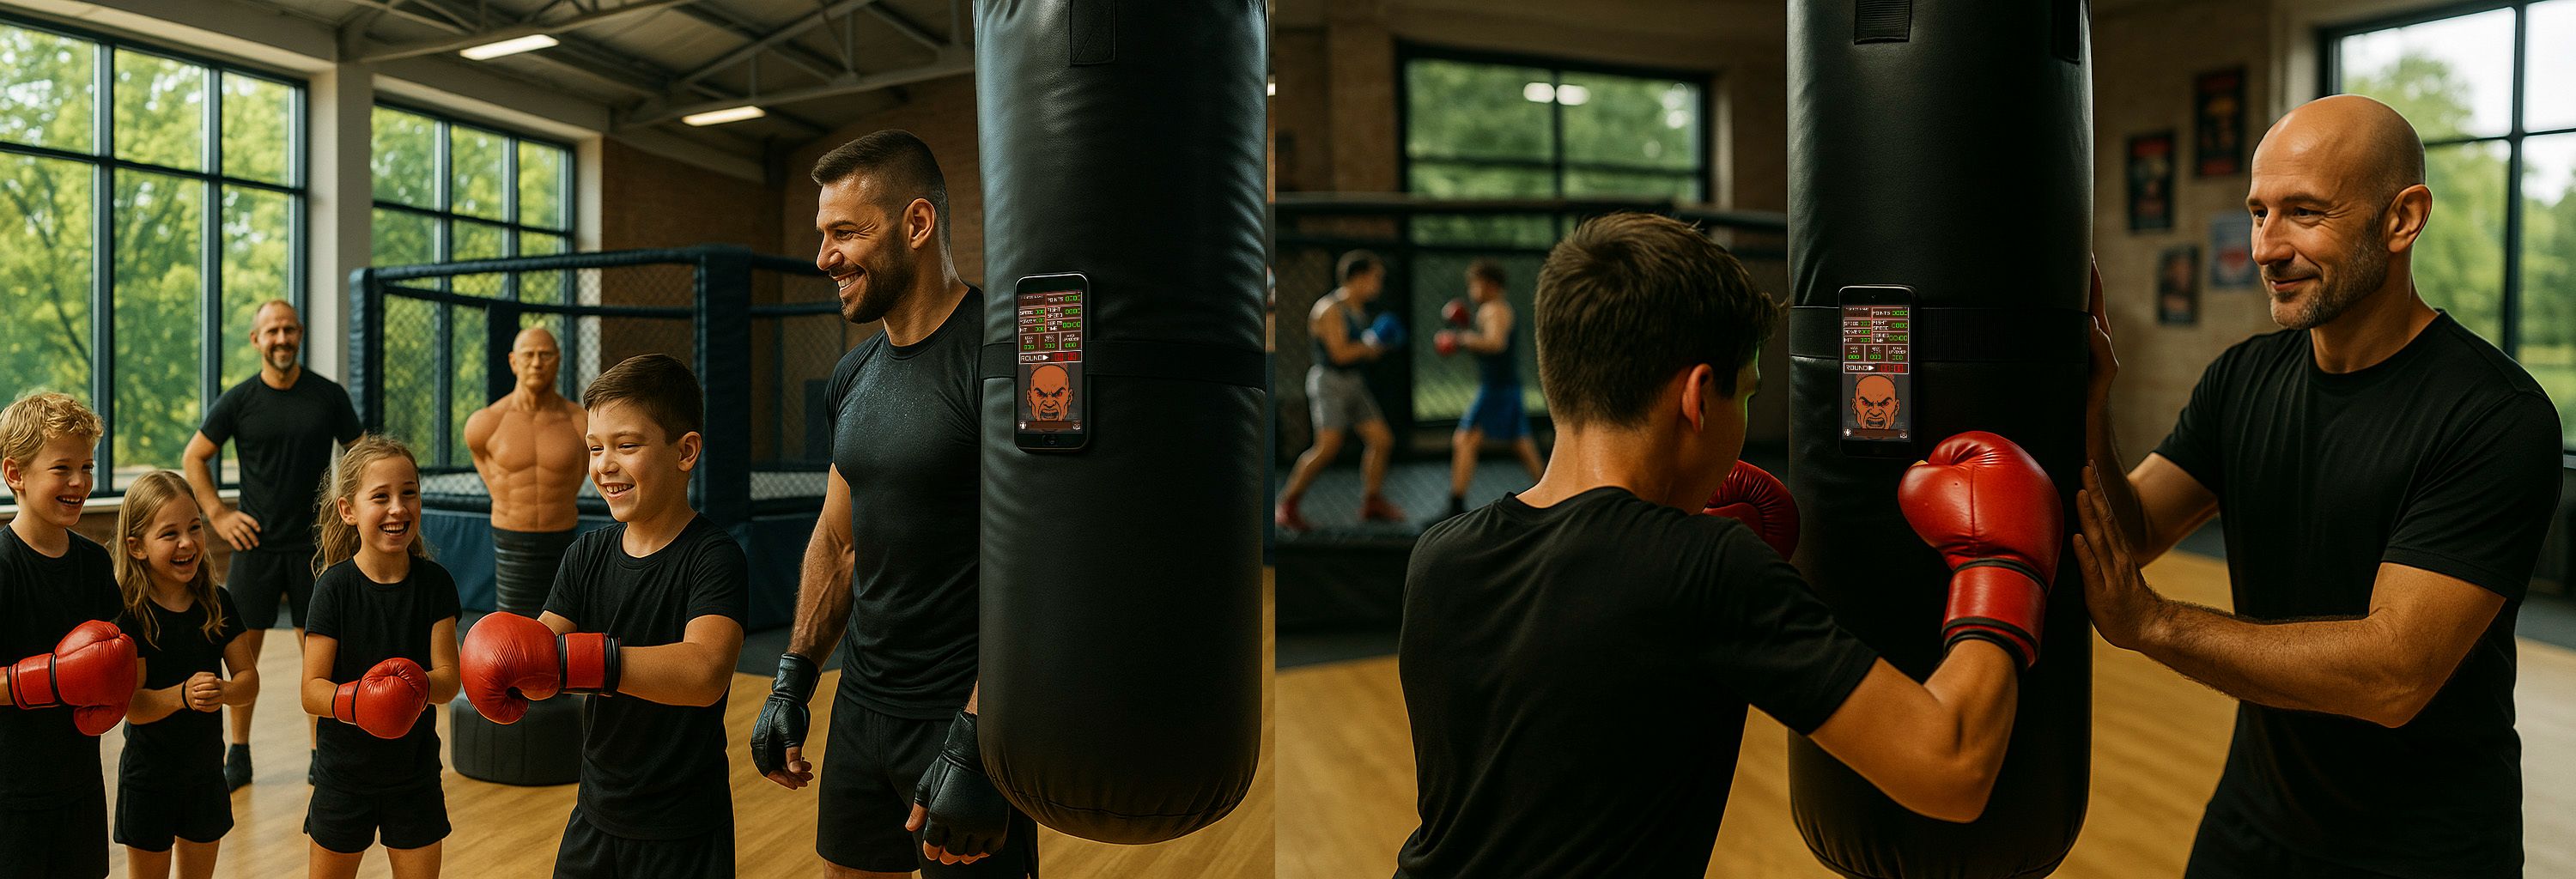
We have tested the app in group training classes and individual sessions
We have collected feedback from real athletes and continuously refine the details and settings so that you achieve the best possible results.
We have collected feedback from real athletes and continuously refine the details and settings so that you achieve the best possible results.
To use MMA Trainer effectively, you will need at least one Android smartphone with built-in motion sensors. The app works with almost any modern or older phone — you can use your current device or dedicate an old one for training.
Where and How to Train
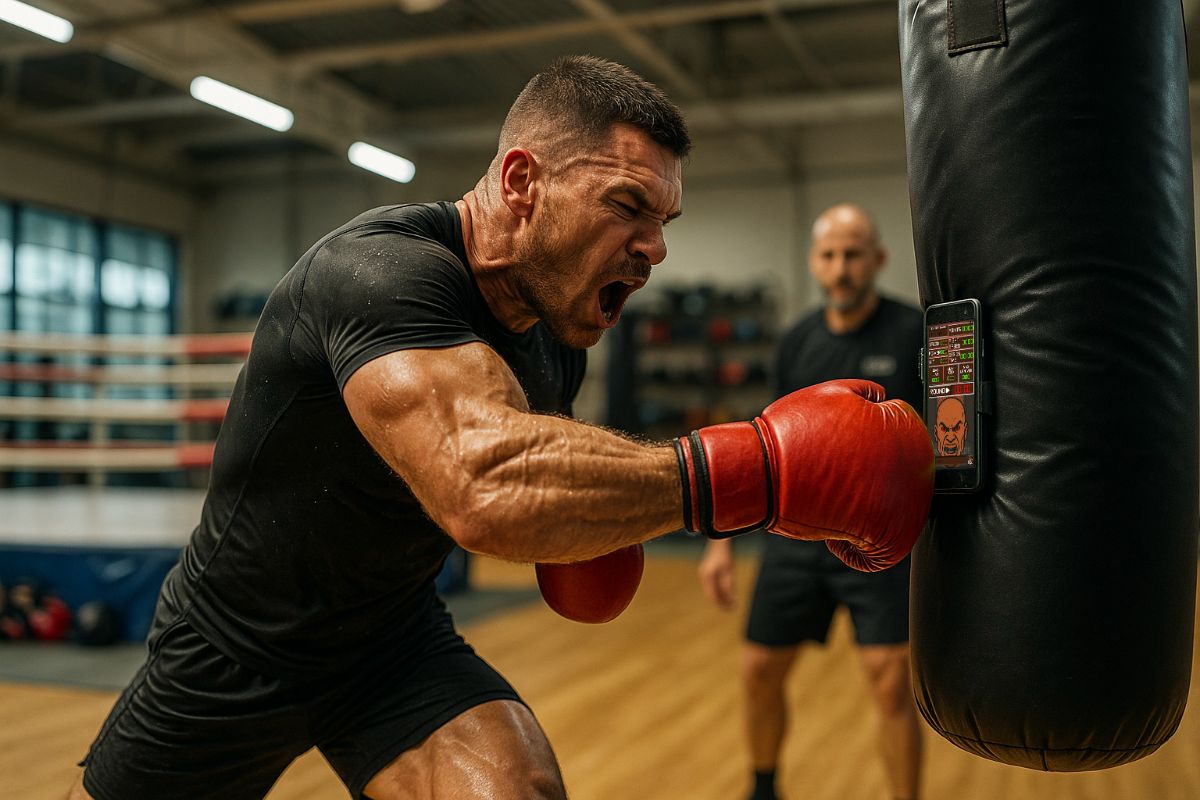
For the most accurate results, we recommend training in a gym or any space with suitable equipment, such as a punching bag, dummy, or uppercut pad. Secure mounting is critical — the phone must remain stable during every strike.
Mounting Options:
On an Uppercut Pad:
Place your phone in a sports armband case (like those used for running). Secure the case tightly to the pad with straps or elastic bands so the device stays firmly in place, even with hard strikes.
On a Punching Bag:
Insert your phone inside a boxing mitt or pad, then fix the mitt to the bag using straps or Velcro. This protects the device from direct hits and ensures stable positioning.
On a Dummy or Other Equipment:
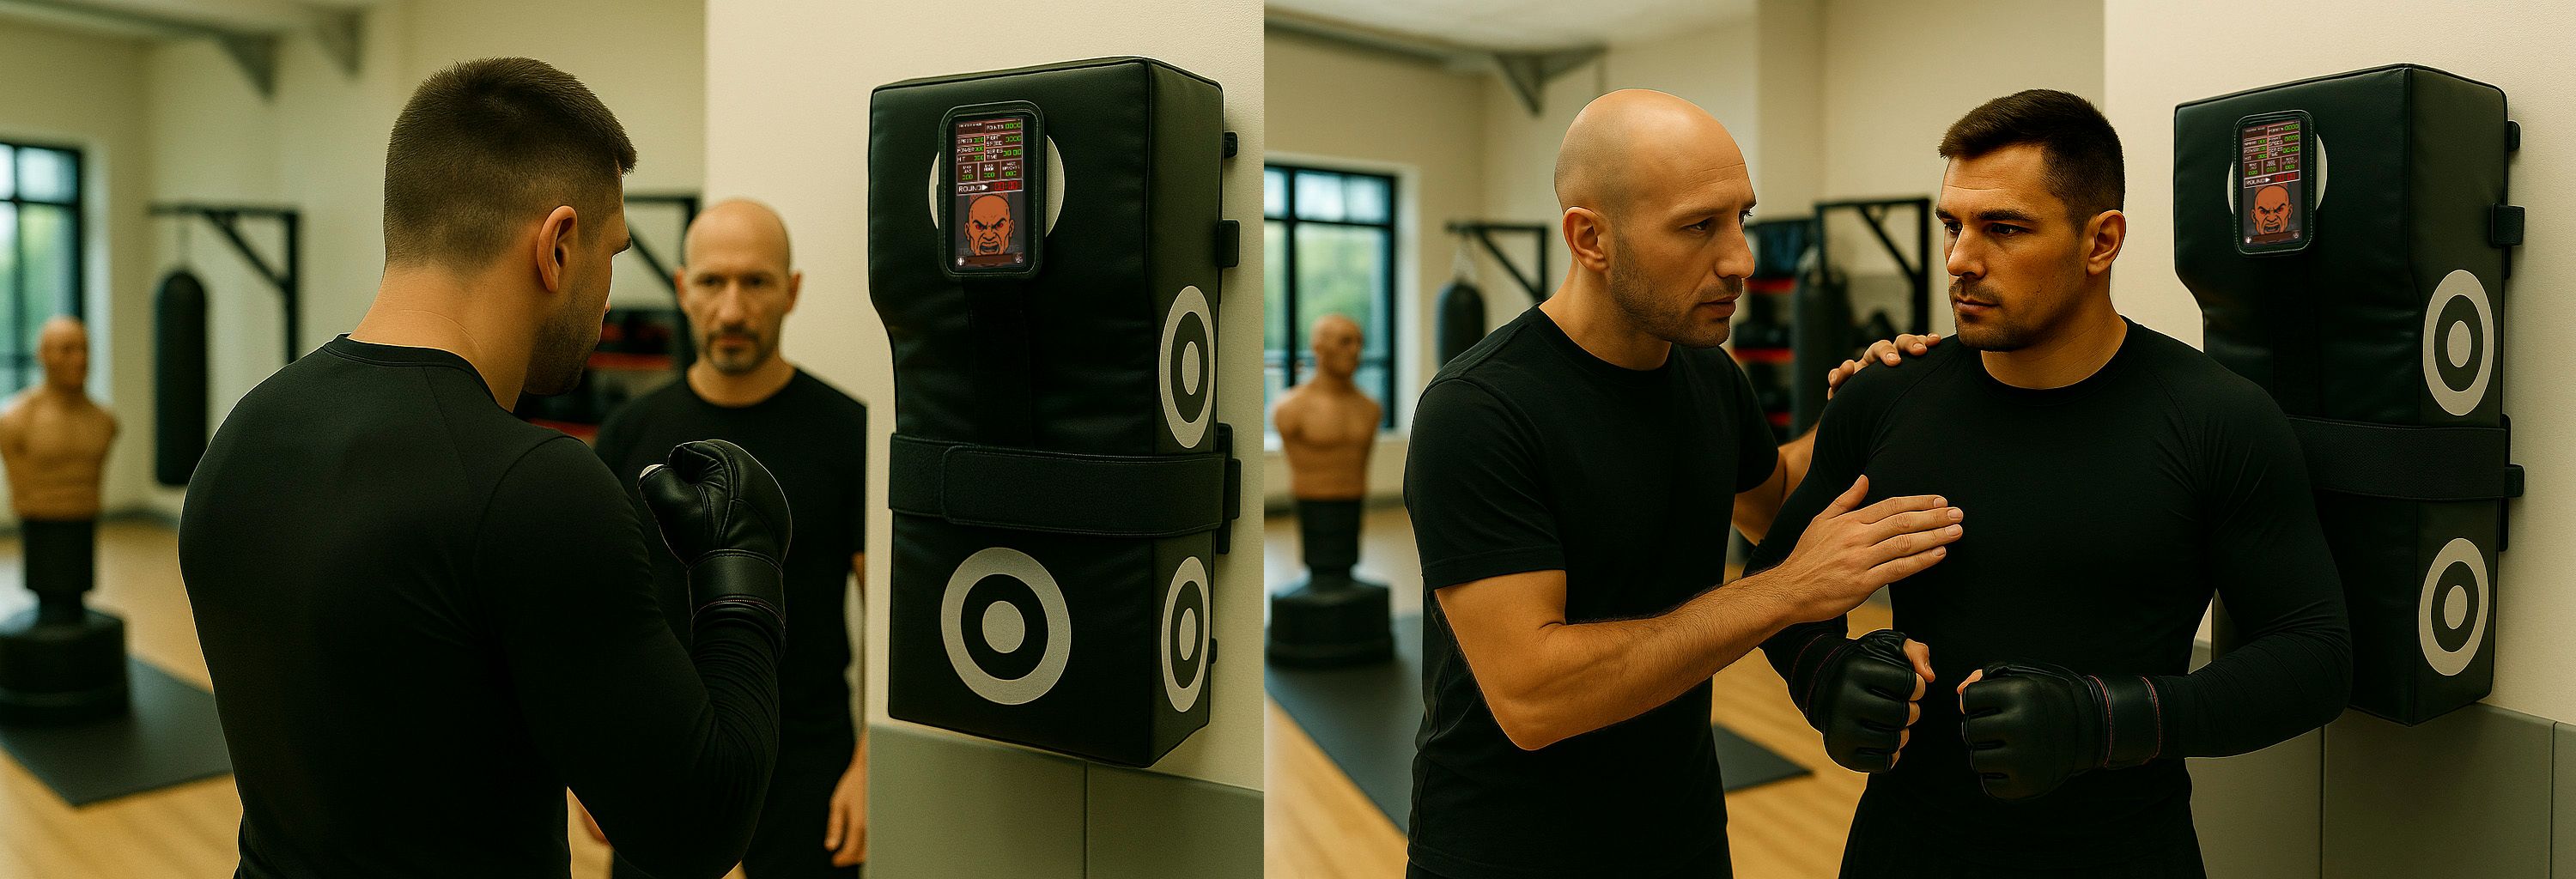
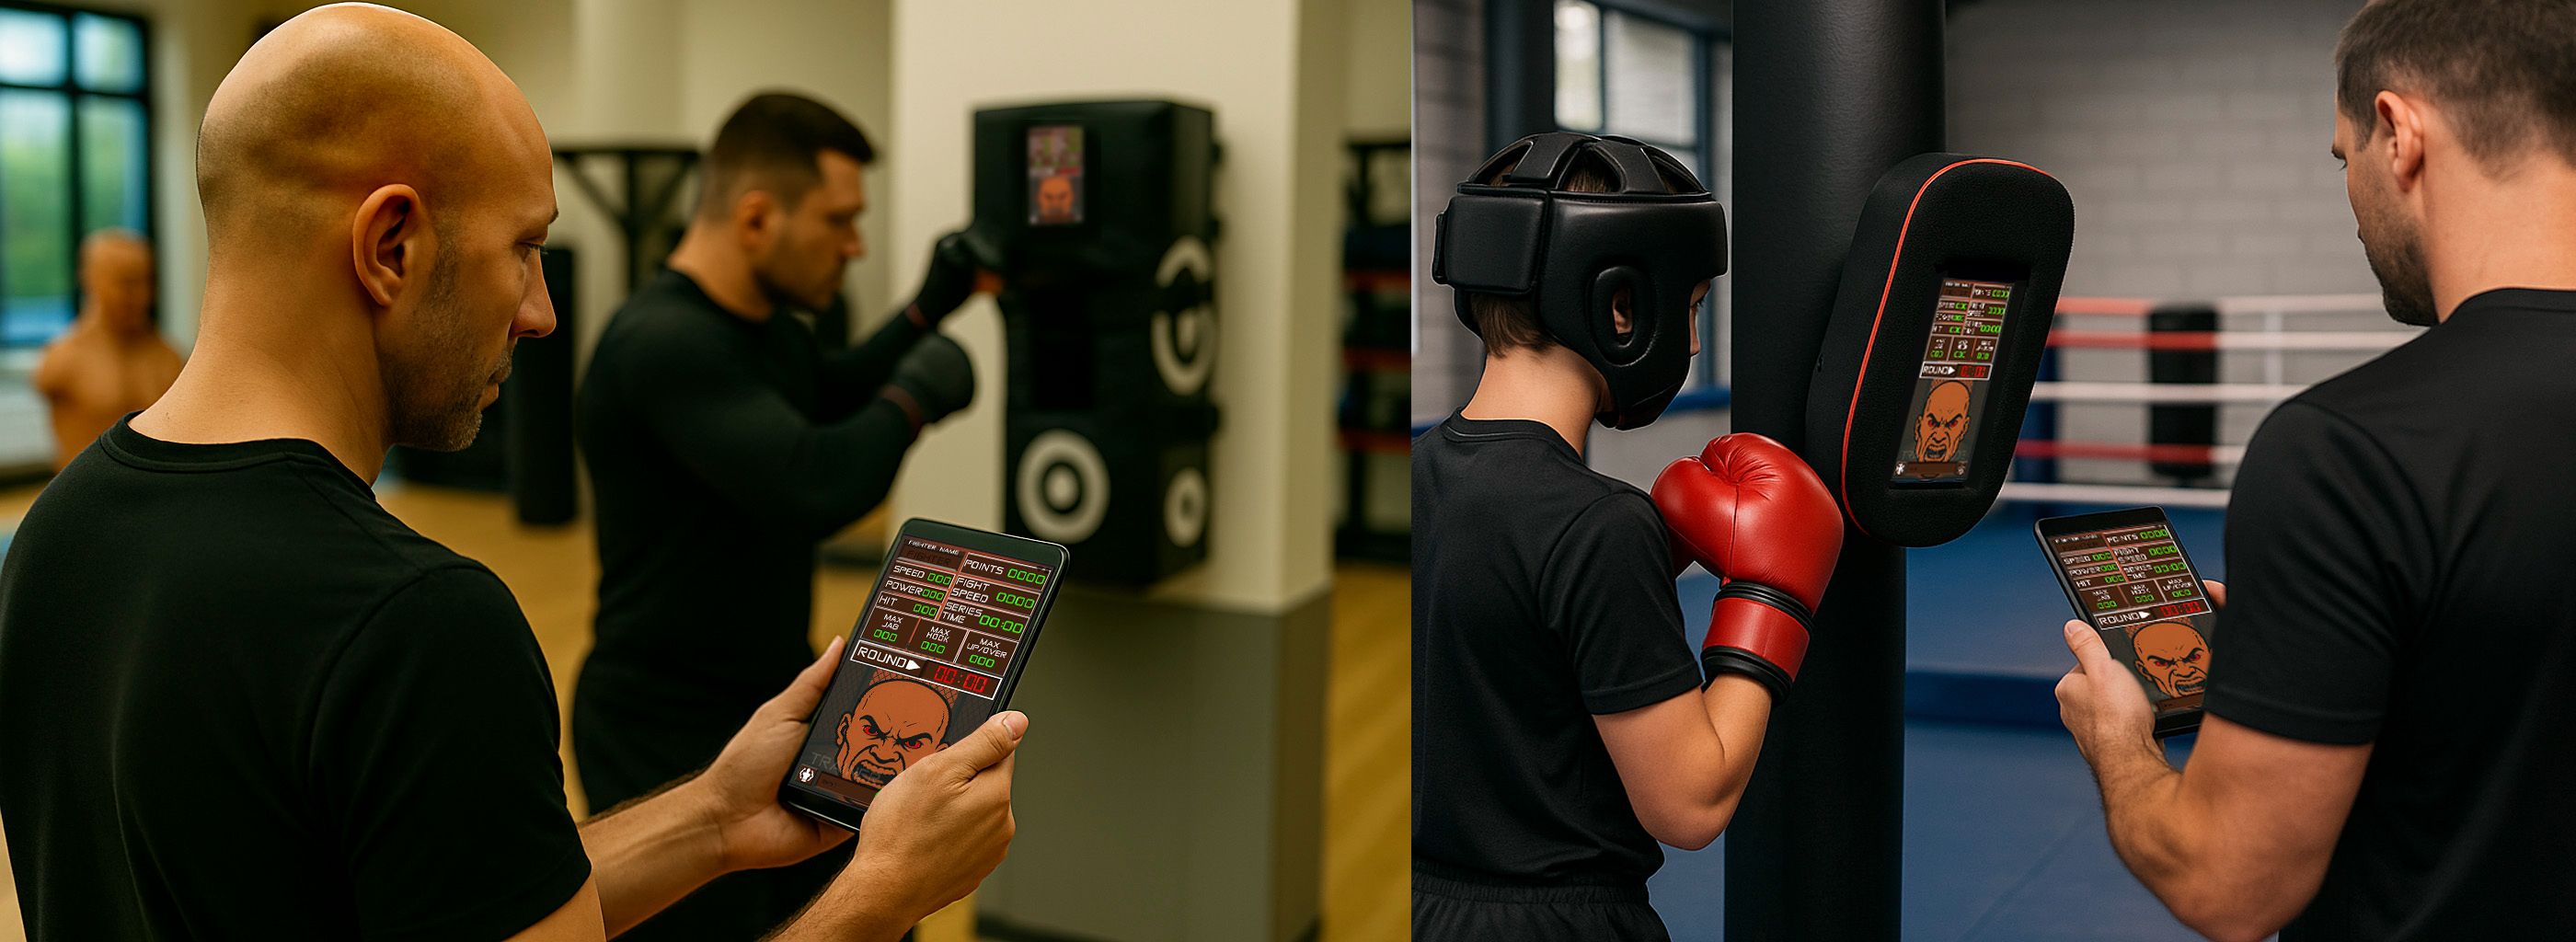
In Trainer Mode, the phone can be attached to any part of the equipment within the striking zone (for example, the head or torso of a dummy). This is especially useful for tracking different types of strikes.
Mounting on Training Equipment:
For correct punch analysis, always attach the smartphone directly to the target area of your training equipment—such as a punching bag, uppercut pad, dummy, or focus mitt. The device must be positioned and securely fixed in the zone where strikes will be delivered. Never mount the smartphone on your body—this may lead to incorrect data and will not ensure accurate registration of strikes.
Important Mounting Rules:
Always mount the phone in a vertical (portrait) orientation, with the screen facing the athlete.
Never mount the device upside down or horizontally — incorrect orientation will distort the data.
Make sure the phone is tightly secured and does not shift during training for maximum measurement accuracy and device safety.
Trainer Mode:
When using Trainer Mode, you don’t need to visualize the app interface on the device attached to the equipment — all data can be monitored remotely from the coach’s device. This is ideal for group workouts or when running sessions for multiple athletes.
Safety Recommendations:
Avoid direct strikes on the smartphone screen.
Whenever possible, use a dedicated (possibly old) device for mounting, and another device for monitoring as a coach.
Flexibility:
MMA Trainer is suitable for all levels — from beginners to professionals, and for all striking martial arts: boxing, MMA, kickboxing, Muay Thai, karate, taekwondo, and more. You can customize modes and parameters for your training style, goals, and available equipment.
Ongoing Improvements:
We are constantly improving MMA Trainer, adding new features and workout modes based on athlete feedback. Check the Help section for detailed mounting guides, troubleshooting, and the latest updates.

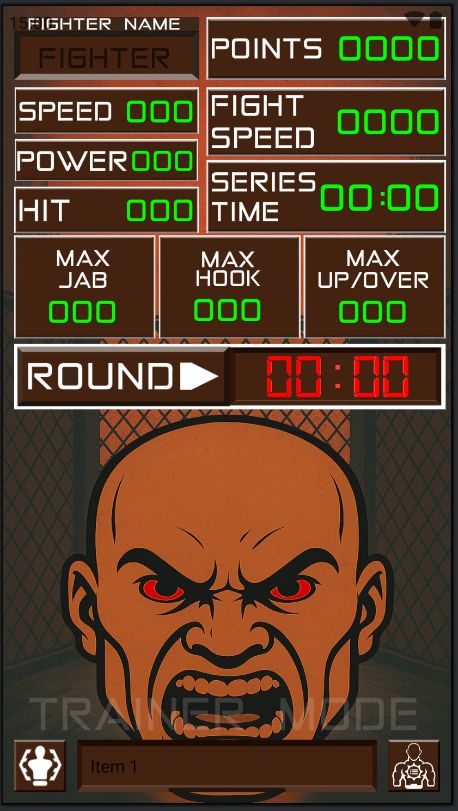
On the main screen, you can start your workout, monitor your punching statistics in real time, and track your progress after each session. All key indicators—number of strikes, speed, power, and combo stats—are displayed here for instant feedback and full control over your training.

It is very important to perform precise calibration and device setup after attaching your smartphone to the training equipment. Please carefully read the instructions on this page.
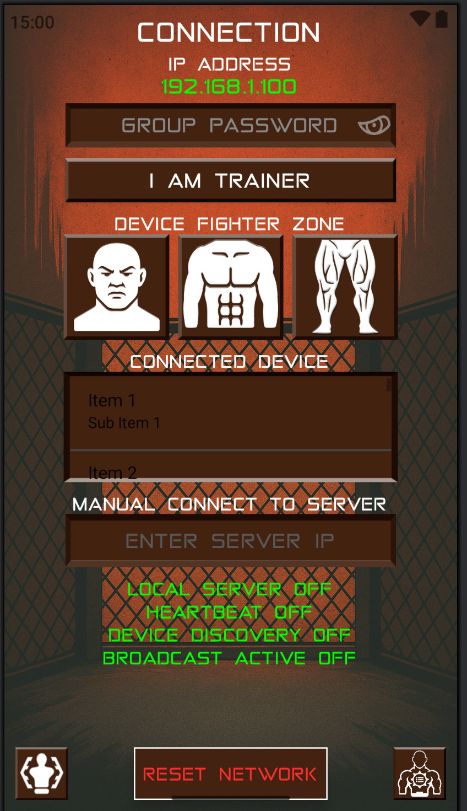
To use the device in trainer mode or to enable data transmission, you need to set up a connection between two devices. Instructions on how to do this are provided on this page.
🖥 INFORMATION ABOUT ELEMENTS
IP ADDRESS
Displays the device's IP address at the top of the screen. This address is used by other devices to connect.
PASSWORD (GROUP PASSWORD)
Enter the password that will be used to connect all devices. The password must be the same on the trainer and fighter devices. The password is saved automatically and will be restored at the next app launch.
I AM TRAINER BUTTON
Press to assign the device as the trainer. After that, it will be ready to accept connections.
FIGHTER ZONE (DEVICE FIGHTER ZONE)
Select a strike zone:
FACE — active and ready for use.
BODY and LEGS — to be implemented in future versions. Stay tuned for updates.
CONNECTED DEVICES BLOCK
Displays a list of devices connected to this device. The list shows IP addresses and the selected zones of devices.
Active connections are marked with a checkmark. If you want to exclude a device from the group, click it — the checkmark will disappear, and its commands will not be processed. To return the device, click again.
MANUAL CONNECT TO SERVER + ENTER SERVER IP
If devices cannot find each other automatically (e.g., due to network restrictions), use this field to enter the trainer's IP address and connect manually.
CONNECT (BOTTOM LEFT CORNER)
Button for starting and stopping the trainer server.
The icon changes color:
🟢 green — connection active
🟡 yellow — server running, waiting for clients
🔴 red — server stopped or connection lost
RESET NETWORK
Completely resets all settings and connections. After pressing, you will need to re-enter the password and set up connections.
SETTINGS (BOTTOM RIGHT CORNER)
Opens the additional menu (if implemented).
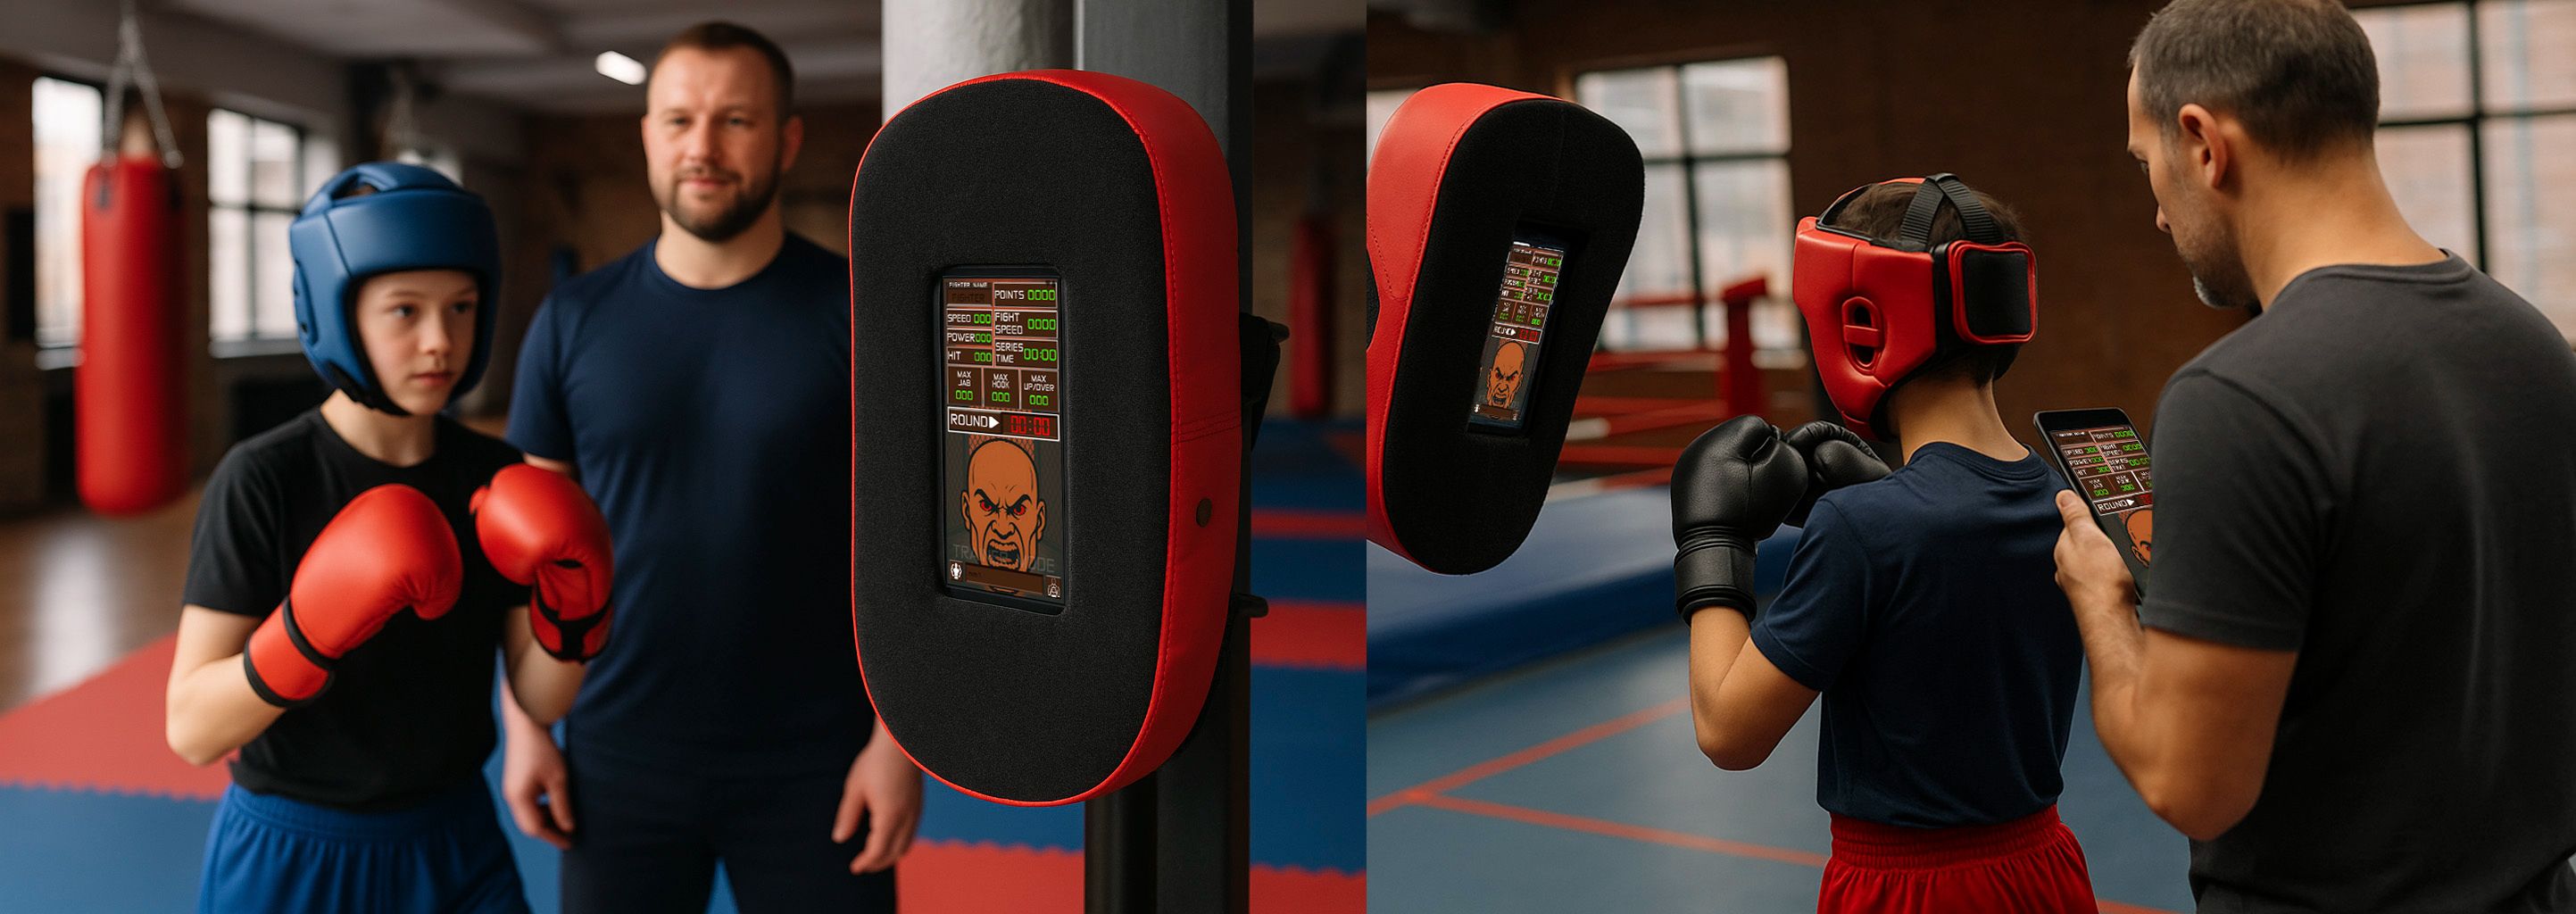
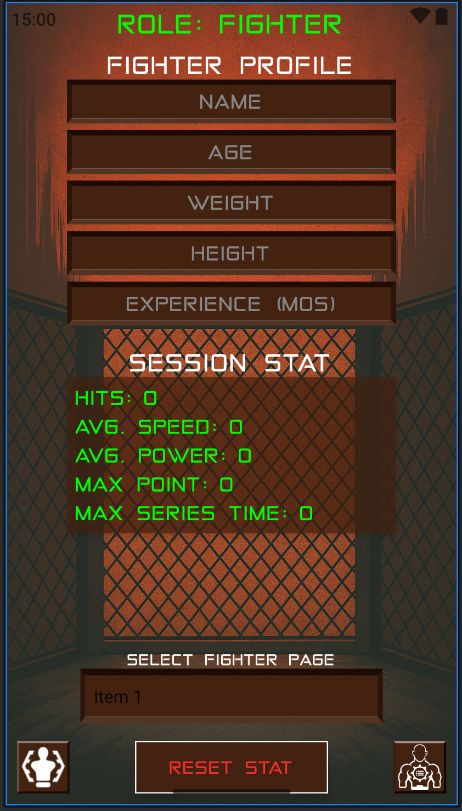
Live Monitor lets you track strikes, speed, power, and session stats in real time during your training. Stay focused and monitor your progress — whether you’re training solo or with a coach.
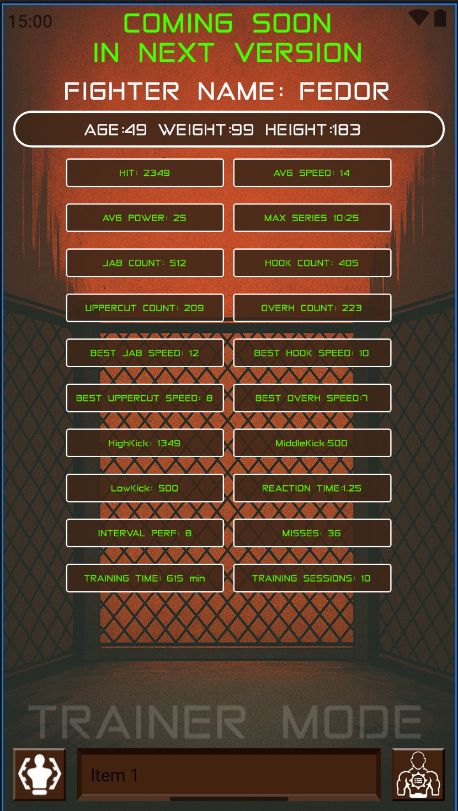
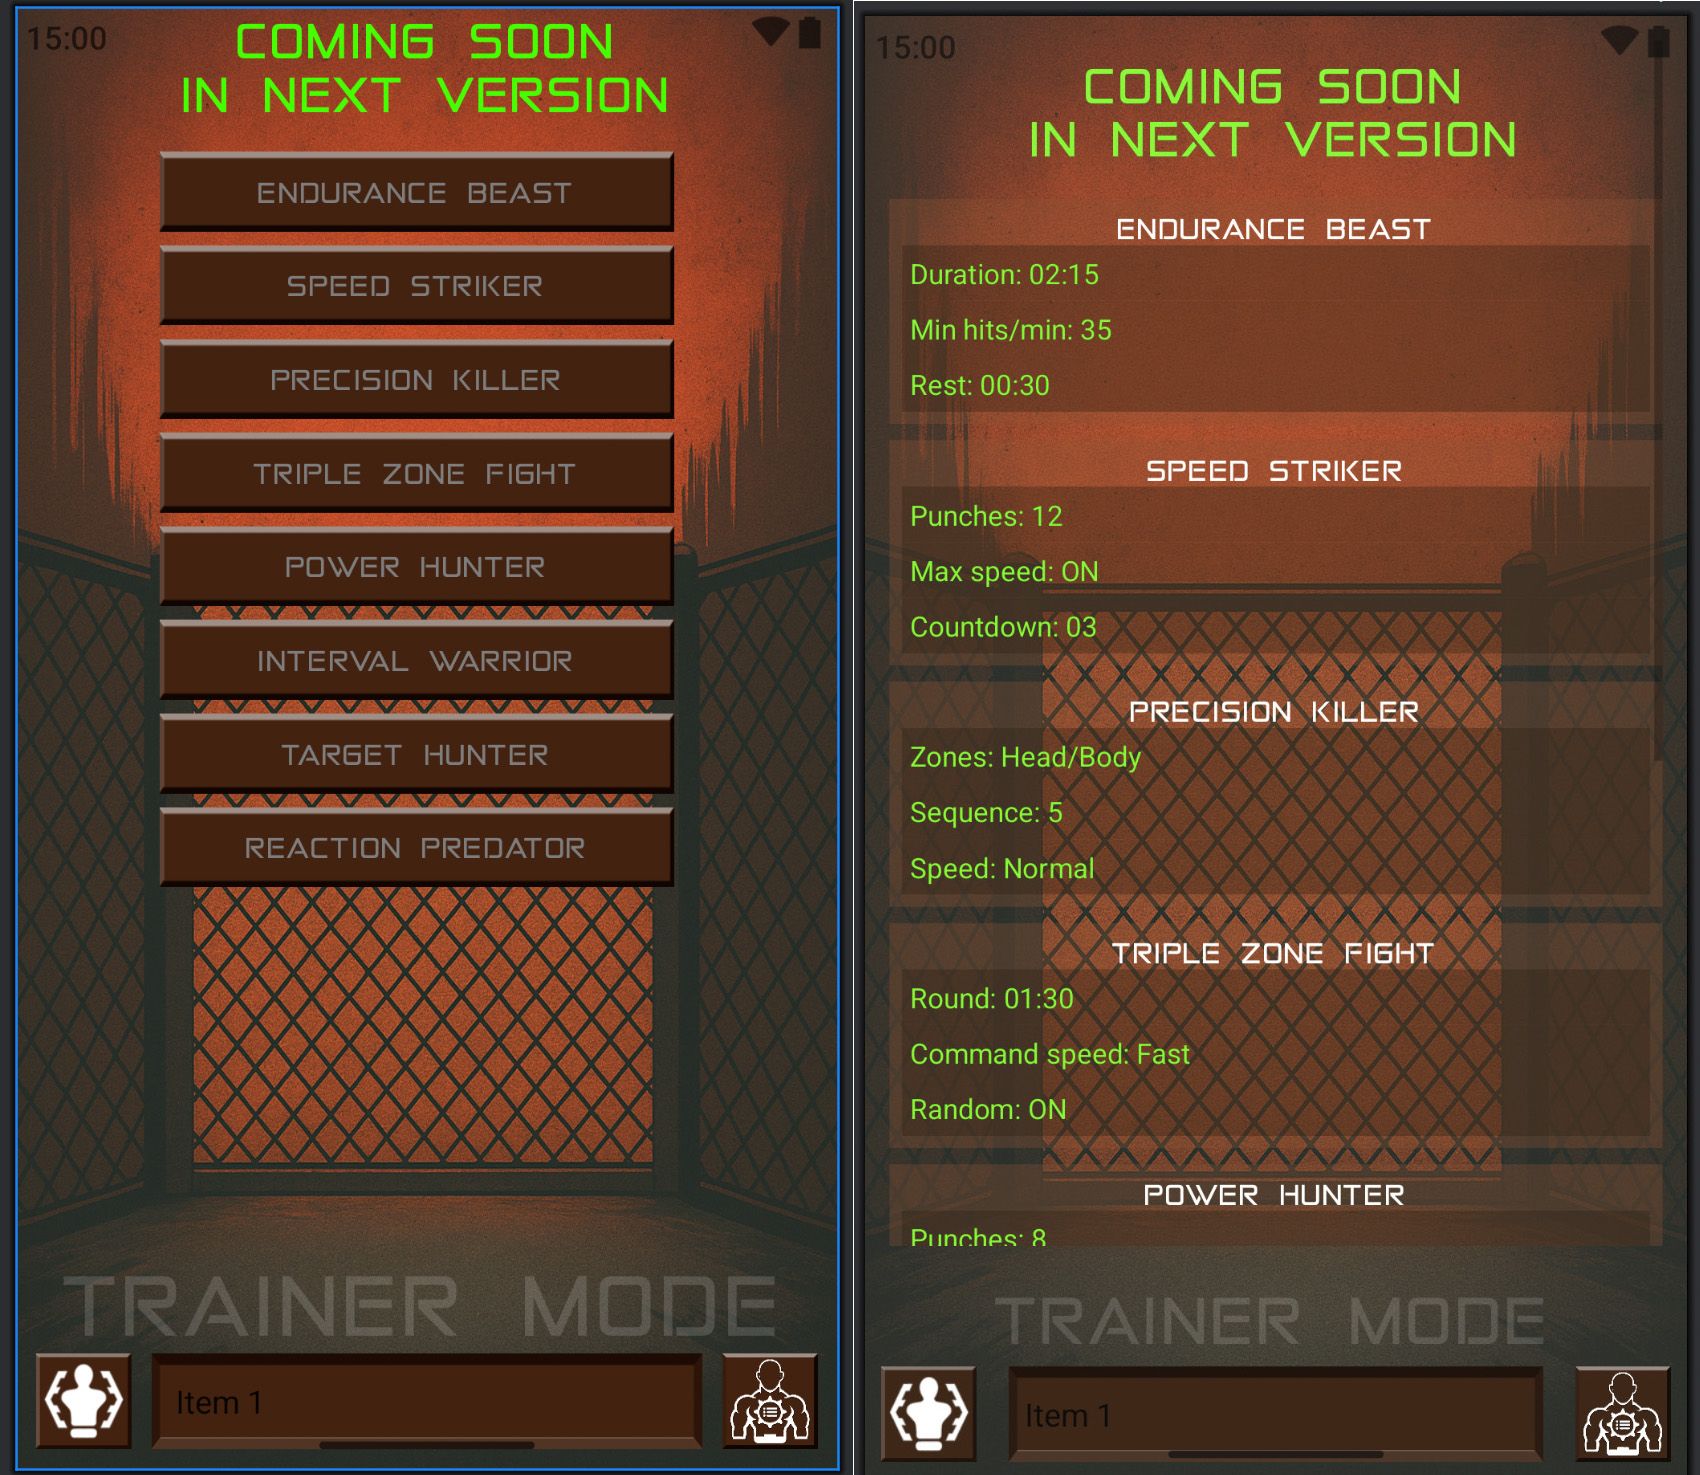
The Statistics, Select Training, and Training Options pages are under development and will be added soon.
You can always contact us — we are ready to answer your questions and discuss your project ideas.